Ticket Events > mPOS Ticket Sales
mPOS Ticket Sales
There are many components involved with mPOS Ticket Sales. You will need an iPad or other iOS device for processing Box Office ticket sales. You will need a cash drawer and a printer. Consult with EduTrak personnel for the latest specifications.
Currently, we are using a Star Micronics Thermal printer, model TSP650. This model connects to the mPOS app via bluetooth. The printer is connected to the Star Micronics Cash drawer Model SMD2-1317 with an SDK connector. More on the hardware component connectivity in the Hardware Configuration section.
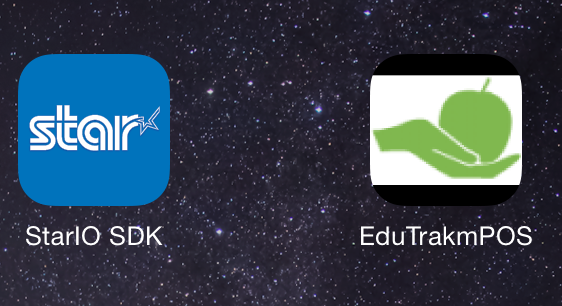
Above is a view of an iPad with the EduTrak mPOS application already installed. Tap on the EduTrak mPOS app to open it and you will see a screen similar to the one below.
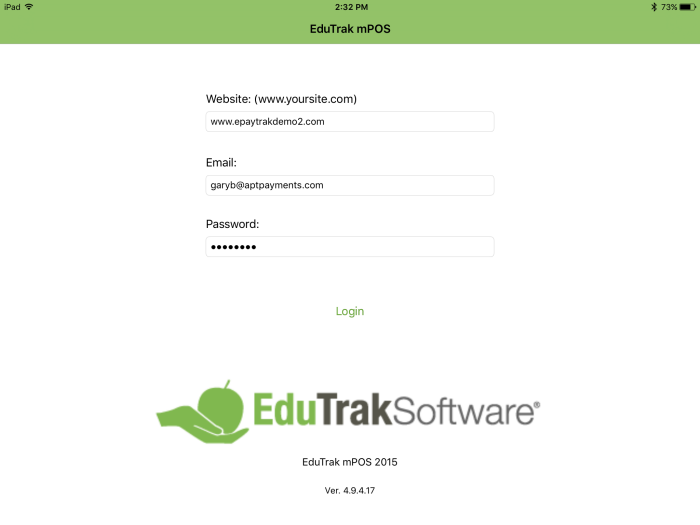
Enter the URL and your login information, tap Login to gain access to the application. That will bring you to the Main Menu Page. Note, if your Internet connection isn't available or configured on the iOS device, it will appear that you are entering your password incorrectly.
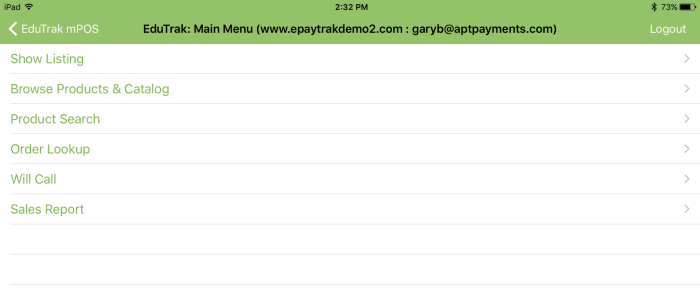
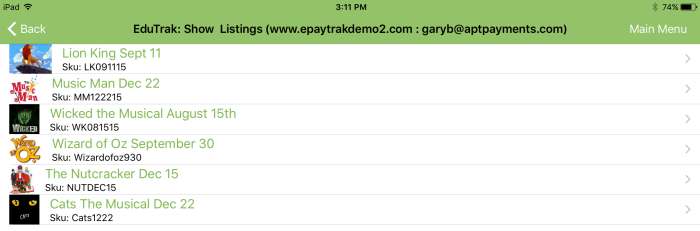
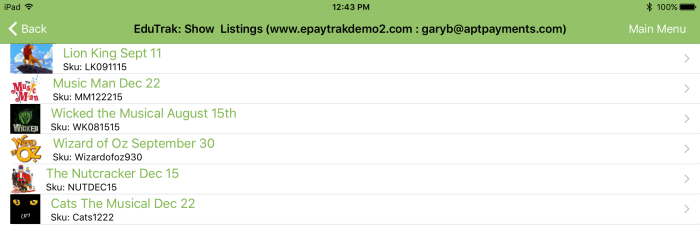
Tap Show Listing to see the available shows on your site.
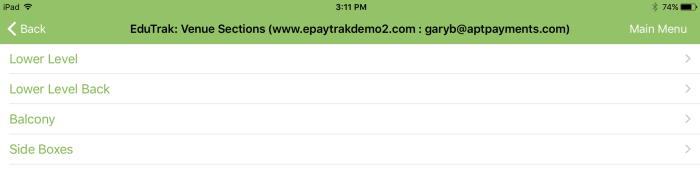
You will see a screen similar to this one.
Placing an Order for a Customer on mPOS
In the example below I tapped the Wizard of Oz. You will see a similar screen to the one below, depending on how your seats are arranged.
I tapped Lower Level to select the seats and the seat map appears. I tapped on a seat to add the first ticket to my cart. That seat is now highlighted in yellow. If you have more than one price available you will see a spinner at the bottom.
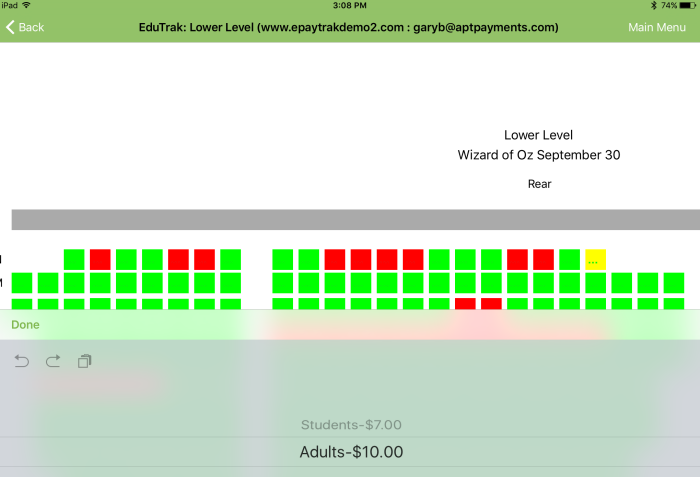
I selected Adults - $10 and clicked done. Time to add the next seat. Tap the seat next to the other one and it now turns yellow.
I selected Adults-$10 on the spinner, then tap Done.
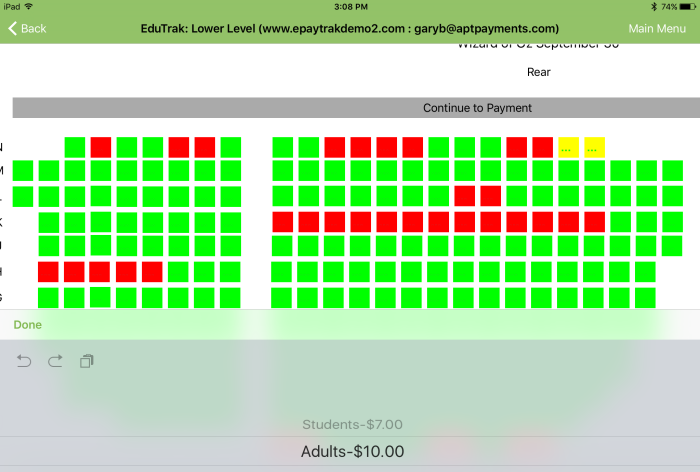
You will see the two seats selected and there you will see a Continue to Payment button.
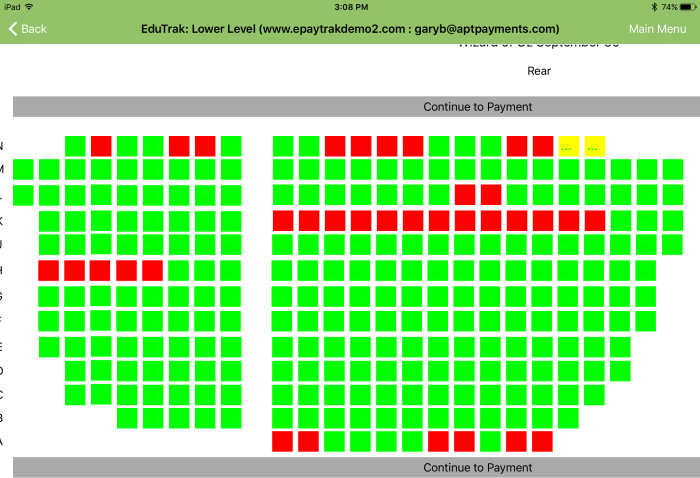
-
Tap Continue to Payment to proceed with the transaction. A newer feature is deselecting a seat by tapping on it a second time.
The Process Credit Card option link will no longer be present because that method is no longer PCI compliant. We will rely on an Authorize.net Mobile App which is PCI Compliant for processing credit card transactions.
You will see the Payment screen as shown below. If the customer would like a receipt, enter the e-mail address in the Customer Email as shown below. You will note the two seats that were selected at the top right and the payment options below.
Now is when I would recommend processing the Credit Card using the Authorize.net Mobile App or a stand-alone credit card terminal to maintain a smooth workflow. (You can easily toggle between the ePayTrak mPOS app and the Authorize.net Mobile App if you leave both apps open.)
After completing the transaction on the Authorize.net Mobile app (or credit card terminal, the steps are the same)
-
Enter the Transaction ID number from the Authorize.net Mobile App. Some schools have students enter their initials in the Complete Order with Card payment option field instead for better tracking.
-
Tap Complete Order with Card option if you processed a successful credit card transaction via Authorize.net Mobile App. You no longer need to enter a character in the Trans # box as this field is no longer required.
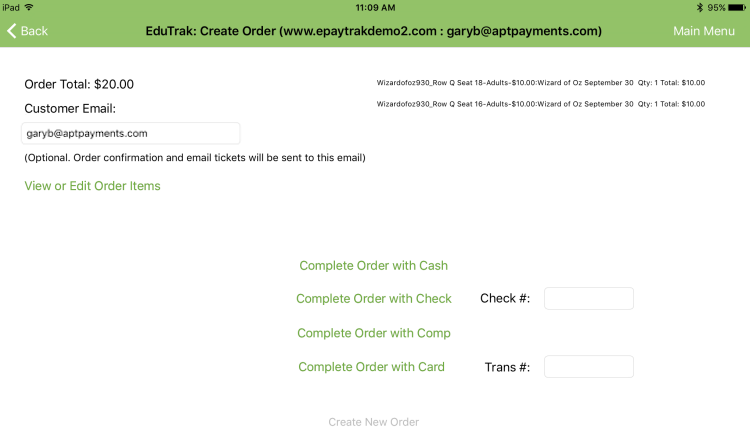
In this sample, the customer was paying with cash, so I tapped Complete Order with Cash. The other payment options will give you similar results, for a check number you need to add the Check # in the Check # box.
For a cash transaction, we have added the functionality of entering the amount given and ePayTrak will display how much change to give your customer.
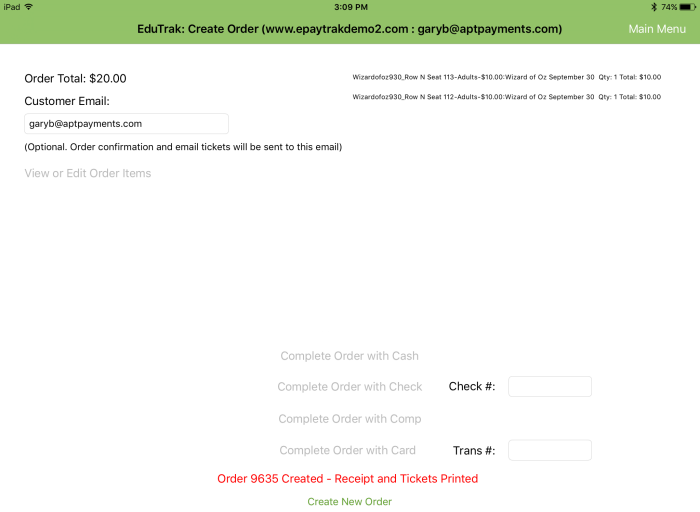
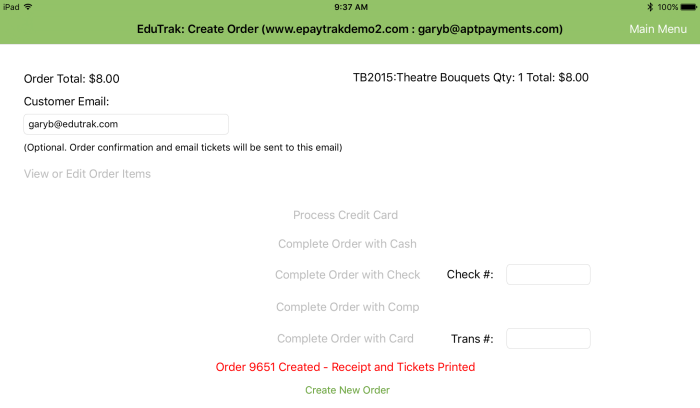
Note, you'll see the Order was created with the Order number and Receipt and Tickets Printed in the screen above.
Cash, Check and Comp order processes and workflow remain the same.
Follow the steps for Mobile Credit Card Payments using the Authorize.net Mobile App on this page.
If you want to place a new order, it is faster to click the Create New Order button, that will bring you back to the page where you select the seating section.
Browse Products and Catalog
You might have other products that you might want to sell from the mPOS app, such as concessions, spirit wear or other merchandise. From the Main Menu, select Browse Products & Catalog. You will see a screen similar to this one.
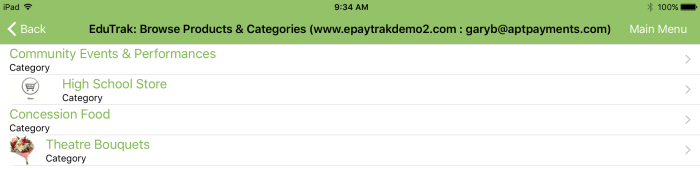
In this example, a customer wants to purchase theatre bouquets to show appreciation to the actors after the show. (Beware! There are multitudes of theatre superstitions regarding bouquets!)
In this example, we have the bouquets in their own category, how you organize your site is up to you.
-
Tap Theatre Bouquets to begin the process.

You will see the product listing as shown above.
-
Tap the product Theatre Bouquets. You see the product open.
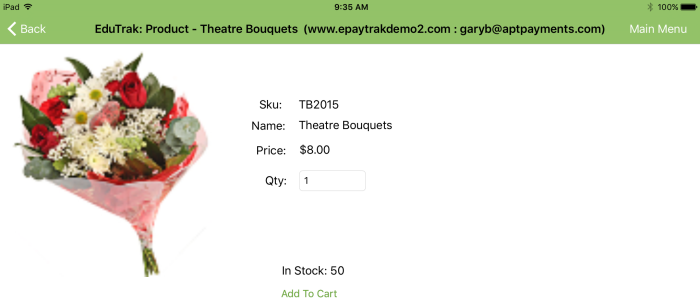
-
Add the quantity, by default the quantity is one as seen above.
-
Tap Add to Cart.
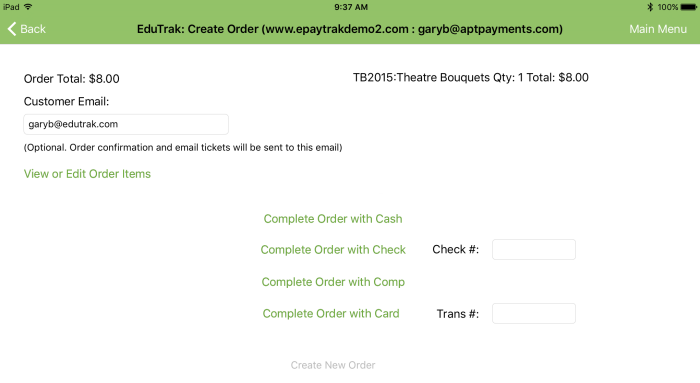
Add the e-mail address if the customer wants a receipt. Select the payment type.
When payment is complete, you will see the order number at the bottom of the screen as shown below.
Order Lookup
On your ticket event day, it is likely that someone will not have a ticket or receipt. The mPOS is very speedy at finding those orders. You can access Order Lookup from the Main Menu.
After tapping Order Lookup you will see the screen below.
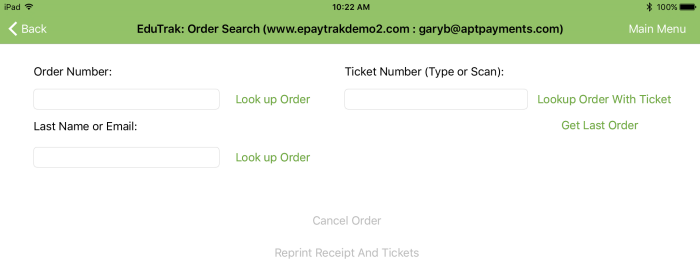
There are many ways you can look up an order. You can look up and order by the Order Number, Last Name or Email, or by the Ticket Number or you can tap Get Last Order.
The first example is by Order Number, although it's not likely your customer will know the order number.
-
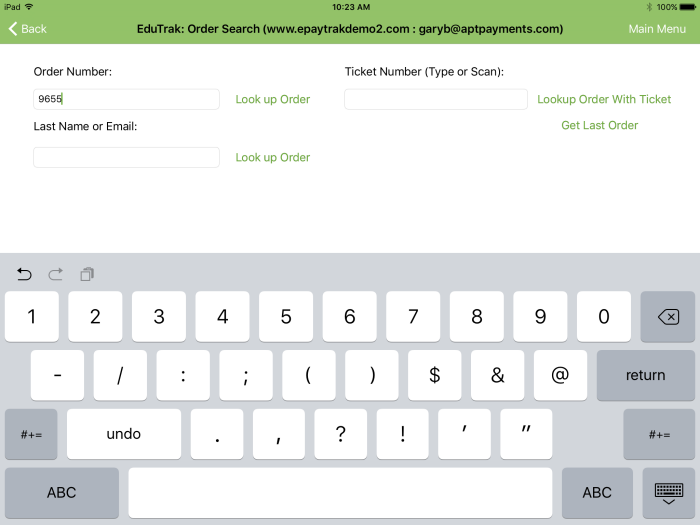
Tap in the Order Number box and you will see the keyboard below.
-
Enter your order number, in this case it's 9655.
-
Tap Look up Order.
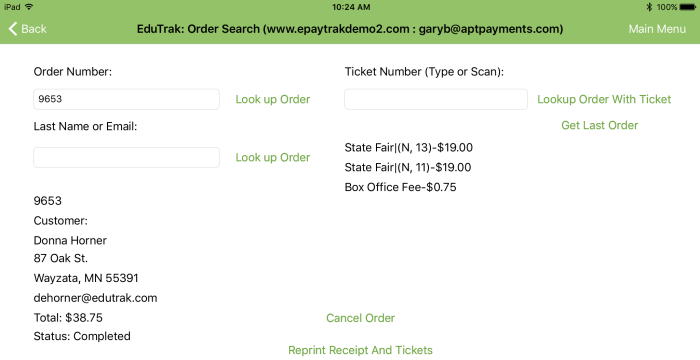
You will see the order information as shown below.
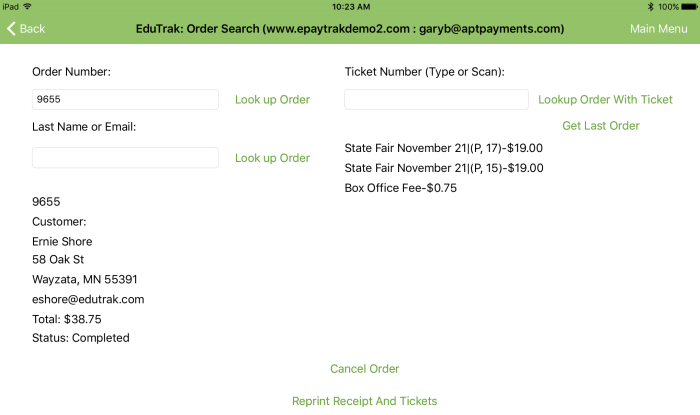
You can then select Reprint Receipt And Tickets.
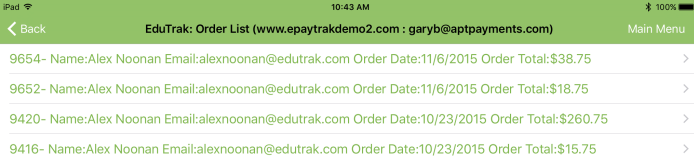
You can look up an order by Name. In the example below, I searched for the last name of Noonan. Enter the name and tap Look up Order.

The search was completed. If a customer has placed previous orders,you will see them here.
-
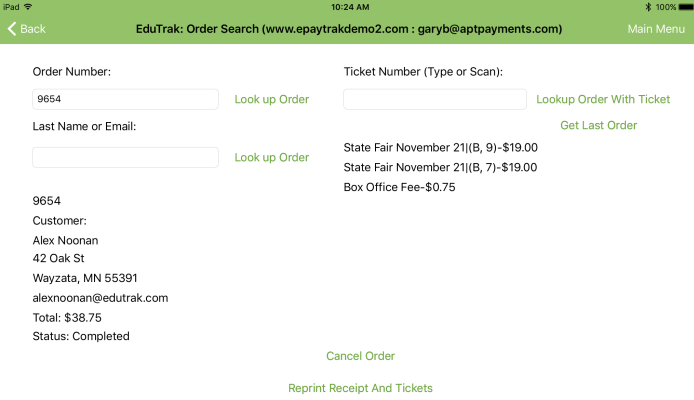
Tap the order you want, and the order will open as seen below. All orders placed by the customer will appear. Likely, the one you want to tap will appear near the top where the most recent purchase is displayed.
-
Tap Reprint Receipt and Tickets. After they print, you will see Receipt & Tickets Printer. (You should also hear them printing!)
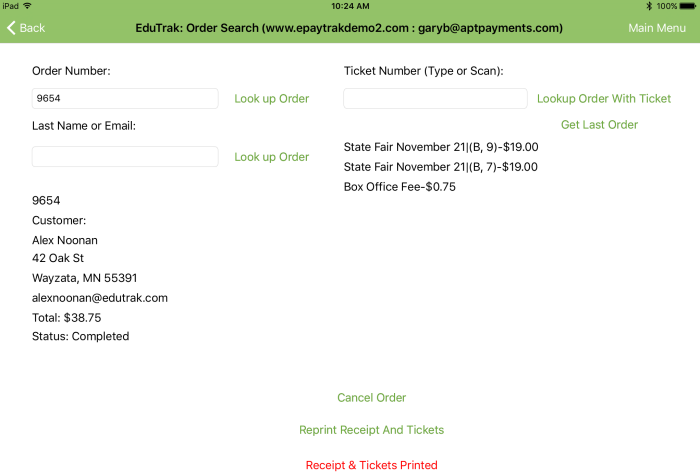
You also have the option to Cancel an order.
If you cancel an order in mPOS and there was a credit card payment attached to that order, you must execute a refund in the Web version of ePayTrak to keep your accounting records accurate. If you processed an order in Authorize.net or on a stand-alone credit card terminal, you must complete refunds on those devices also so your customer will get their money refunded.
You can also perform an order look up by E-mail address. You don't need to enter the entire e-mail address as shown below, it has a built in wildcard search for you.
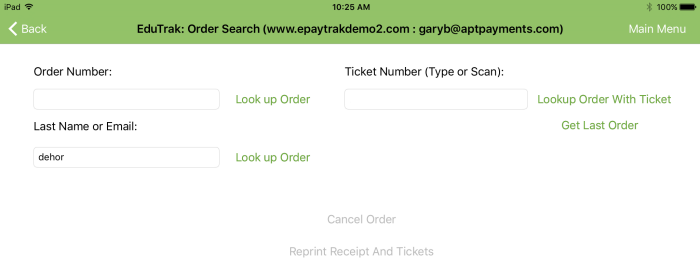
-
Enter some of the e-mail address and click Look Up Order. Again, if that customer already purchased items from your ePayTrak site, those orders will also appear.

-
Tap the order in question, in this case Order 9653. You can reprint tickets from this page.
You can also search by the ticket number. This isn't very likely but you can scan or enter the ticket number to look up the order.
You will see similar results and your other look ups.
Will Call Report
The Will Call Report is available from the Main Menu. (You can turn the Will Call option on or off globally in ePayTrak settings.)
-
Tap Will Call and you will see a list of your ticket events.
-
Tap on the event you wish to see the list of Will Call ticket purchases. In the example below, I tapped on Wicked the Musical.
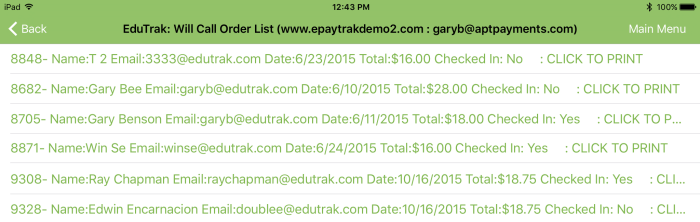
- Tap on Click to Print to print the tickets for each customer.
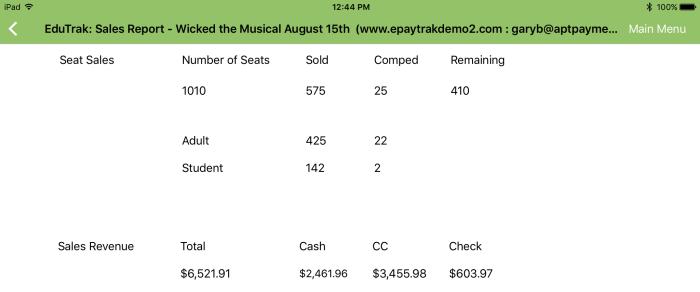
Sales Report
There is a very handy Sales Report for each show that provides details on the ticket purchases. This report is available from the Main Menu.
-
Tap Sales Report.
You will see a screen to select the show. Select the show you wish to view the report.
There is no need to search for a Sku for this report which makes viewing this report fast and simple.
Related Topics:
-
Ticket Hardware - Steps to configure all hardware.
-
Installing mPOS apps - Steps on installing the necessary mPOS apps.
-
Ticket Events Assigned Seating - Steps to create your assigned seating ticket events.
-
Ticket Events General Admission - Steps to create your general admission ticket events.
2019 © Edutrak Software, LLC