People > Users
Users
A User in ePayTrak is any customer or internal administrative person. You can access ePayTrak User profiles from the Menu drop-down, People > Users. Here you can search for a User by Last Name, Company Name, E-mail address and now Student ID and Phone Number. Or you can search for a User by group membership. A User Name is the E-mail address of a customer in ePayTrak v. 4.0. You can place orders, Edit a User, enter, edit or remove Credit Card Information, create an order and much more from the User Profile.
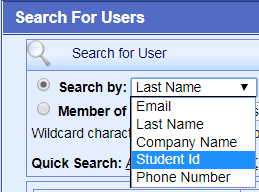
Note: Only those ePayTrak sites that have purchased ticketing capabilities will see a Create Anonymous Order button. In some cases, if a new user account has been recently created, you will need to search by e-mail address for the first search.
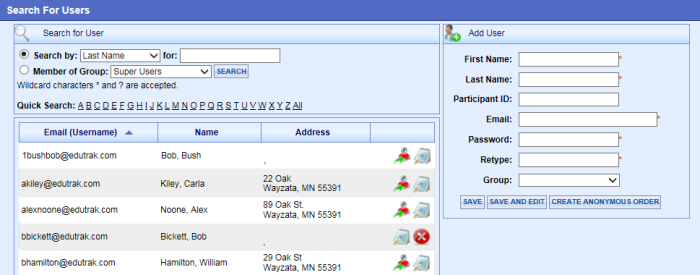
Add A New User
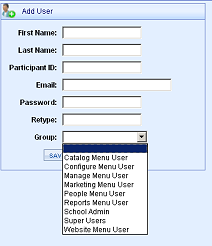
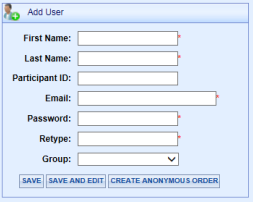
You can Add a new User from the admin side. Fill In First Name, Last Name but skip the Participant ID at this point. Enter the e-mail address and assign a password. The User can change his/her password at any time. I would recommend that you click the 'Save and Edit' button and fill in the rest of the address information. It is not necessary to assign a User Group to one of your Users at this time. A customer does not need any User Group permissions unless you have established a Group Membership to create discounts.
Searching a User
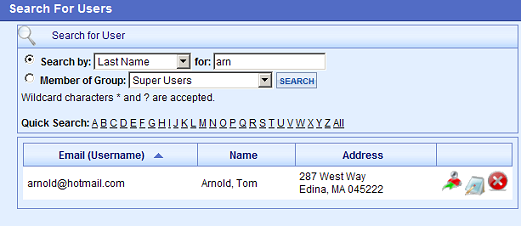
To find a specific User by Last Name, make sure that Last Name is Selected in the Search by window (default setting) and enter the name in the box next to the word 'for:'. Then click the Search button and the User profile for that User will open. In the example below, I wanted to find a User with the last name of Arnold. I typed in Arn, (you can use Wild Cards in your search) and then clicked the Search button.
It's no longer necessary to enter any wildcard character, ePayTrak will use the * by default.
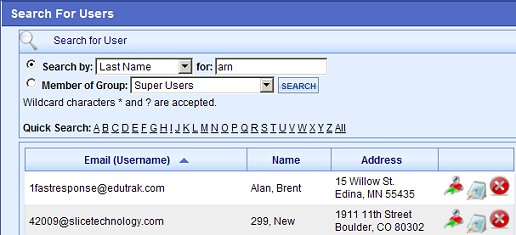
After clicking Search, ePayTrak found the specific User that I was searching for. You don't often want to click the Login as User icon, that will log you out of your Admin account. You can edit a User or create a new order by clicking on the blue Edit button.
Editing a User Profile
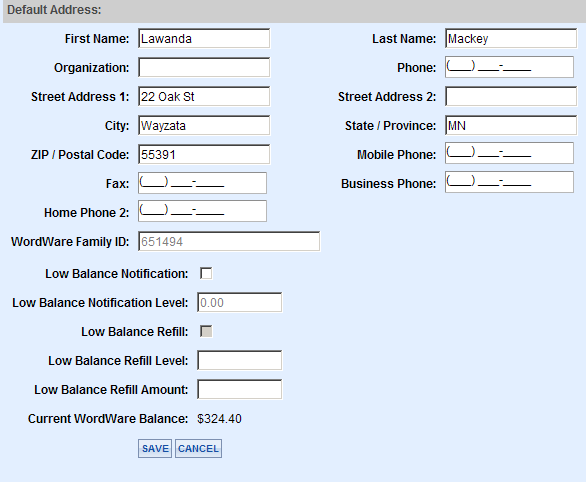
Click on the Edit button to open the User profile. You can add a User Group to the User, change the password, address or any other personal information. Recently added fields for Wordware lunch payments are included in the image below. The Wordware Id will show on this screen as well as if the parents elect to use the optional features below.
Low Balance Notification. The parent will receive an e-mail into their e-mail account if their balance reaches the level set in the Low Balance Notification Level.
Low Balance Refill. This feature allows the parent to have ePayTrak automatically generate payments when the amount reaches what the parent sets in Low Balance Refill Level. Low Balance Refill Amount is the amount that will automatically be paid when the low balance refill level is reached.
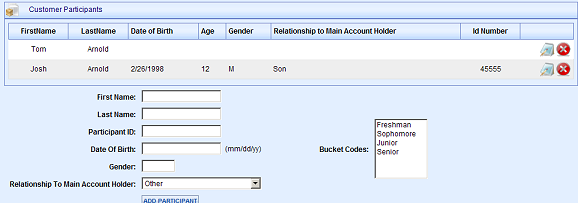
Scrolling down further in the profile window, you will see Customer Participants/Students. By default, a participant is always created for the user account, usually the parent/guardian name. In most cases, additional Participants will be student information. From this window you can Edit or Add a new Customer Participant. Click on the blue 'Edit' button to edit an existing participant. To create a new Customer Participant, enter the First Name, Last Name and other information and click the Add Participant button. The Date of Birth field as shown below might be a required field depending on your ePayTrak settings. The Participant ID field might be required for some ePayTrak sites. Be sure you enter the Student ID in the Participant ID field correctly. There are other Participant ID fields you can use, the controls for that are on the Configure > Store page.
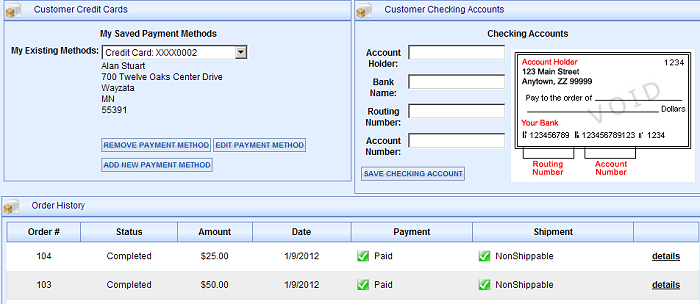
Below in the User profile window, you will see the Customer Credit Card information, and Customer Checking Account information if your school accepts e-checks online. Any previous transactions will appear in the Order History.
Recently added for schools with the ticketing featured enabled can now create an anonymous order from the admin side. Click Create Anonymous User to begin the transaction process. It's not necessary to add a User name but very useful to have if any adjustment is made to that person's order transaction.
Related Topics:
-
User Groups - How to add a User to a User Group.
-
Entering User Credit Card Information - Removing and entering Customer Credit Cards.
-
How to Create a New Order - How to place an order for a User from the admin side.
-
Creating User Accounts - How to create User Accounts from a Student Account. New feature!
2018 © Edutrak Software, LLC