Quick Start Guide to ePayTrak - Part 1
This guide will help you learn the basics of using ePayTrak for your store.
Login to your Merchant Administration
You will want to navigate to your store's home page URL to login to ePayTrak.
To Login through the store:
-
Once at the URL, look in the upper-right corner of the store's navigation bar.

-
Click on the LOGIN icon to view the standard customer login page.
-
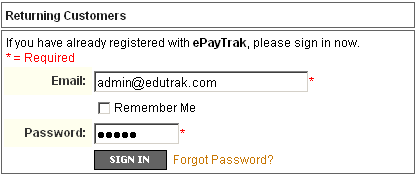
Enter your e-mail address and your existing password in the Returning Customers section that is located on the left side. New customers create new user accounts on the ride side. Your account and passwords are created by ePayTrak personnel and you will receive that information prior to the first training session. Good thing, you can't login to your school admin account without that information!
-
After a successful login, you will see the Home Page.
-
You should bookmark this page now if you haven't already.
- Click the Admin button to view the admin side of ePayTrak. The admin side contains all the tools to create and maintain your ePayTrak site.
TIP: If you lose your password click on the link, "If you are locked out or forgot your password click here" to begin the process to obtain a new one. You will receive an e-mail with a link to reset the password.
The Merchant Dashboard
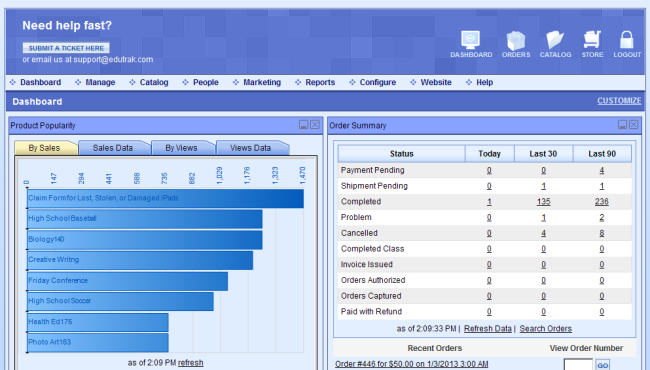
Once you have successfully logged into your merchant administration and clicked admin, you will be viewing the Merchant Dashboard as shown below. The dashboard consists of sales and product reports, an order status summary, links to recent orders, your user status, alerts, and ePayTrak product news. Basically, a snapshot of your ePayTrak site.
The Order Summary on the top right displays your most recent orders and a status. Especially helpful in this section is a section for View Order Number as seen in the bottom right of the image below. If you are trying to find a previous order quickly, enter the order number in the box and press go. That will open that specific order in the Order Manager.
You can access the Merchant Dashboard at any time by clicking the DASHBOARD icon in the upper-right corner of the navigation bar or by selecting Dashboard on the menu bar across the top of the page. You can reset your password on the Dashboard page.

Notice all the options on the Menu bar... Dashboard, Manage, Catalog, Marketing, Reports, Configure, Website, and Help. You will be using these menus very often in ePayTrak. We will cover all the different options of those menu items throughout these Help files. Each menu item is detailed as its own topic in these Help files.
Congratulations! You have completed Part One of the Quick Start Guide. Now it's time to learn the basics of the Catalog in Part II!

related topics
|
2019 © Edutrak Software, LLC
|